


date:2016-08-02 source:Dailyaid
The instrument you will use:
Screwdriver, tweezer, electric iron
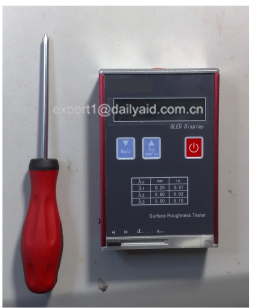
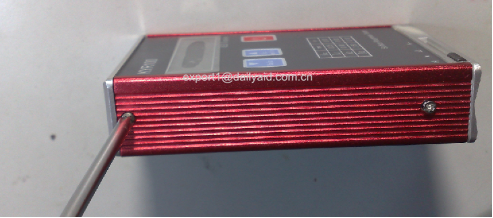
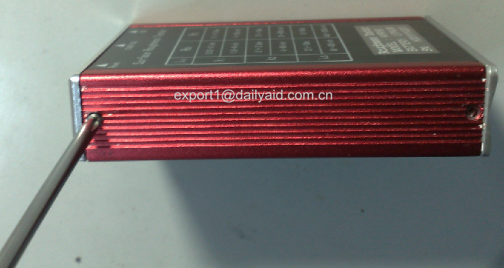
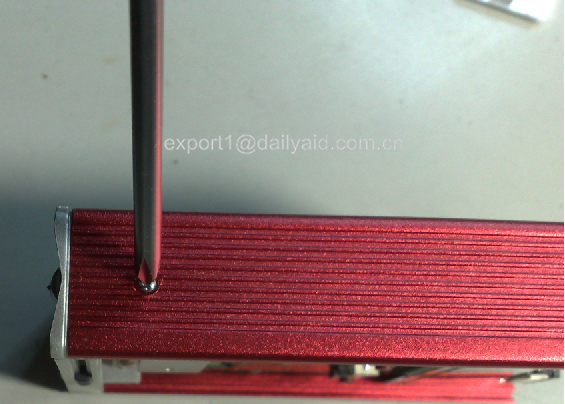
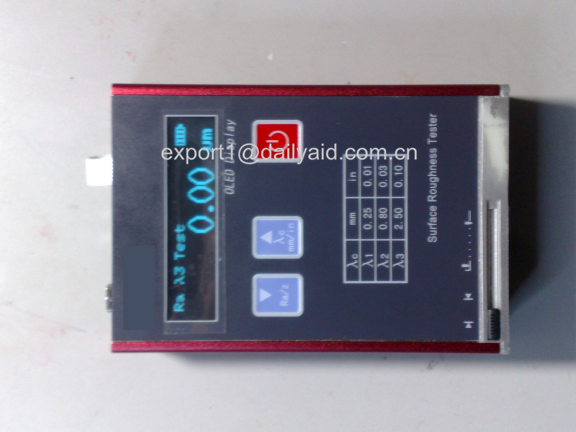
1. Remove the four screws at both sides with the screwdriver
Attention: mark the screws when removing them, they have to be fit in when mounted.
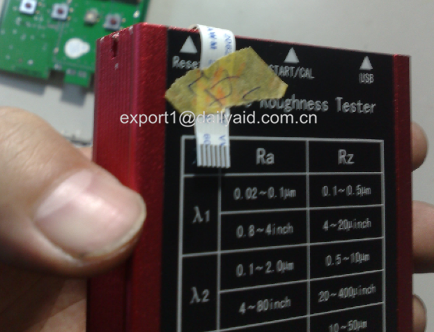
Close the stylus protection door when open the machine, to protect the stylus.
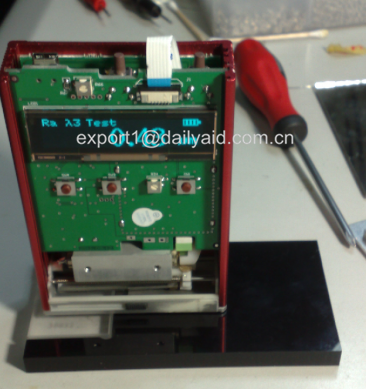
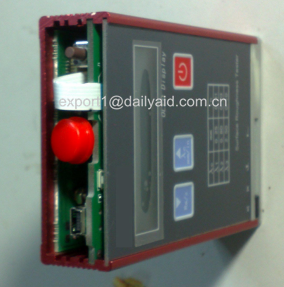
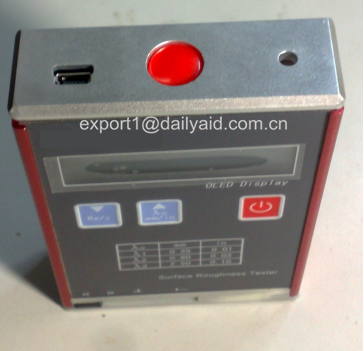
2. Remove the upper lid and start button
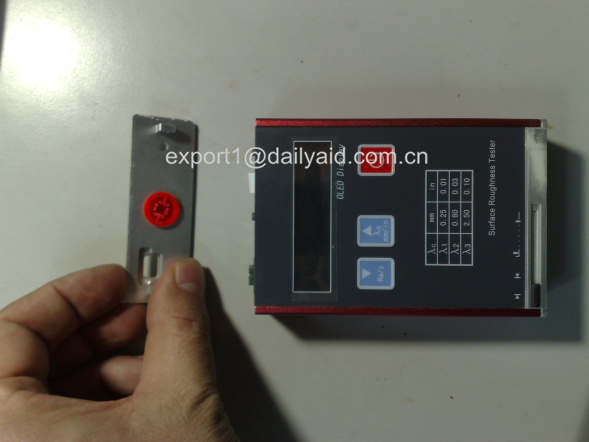
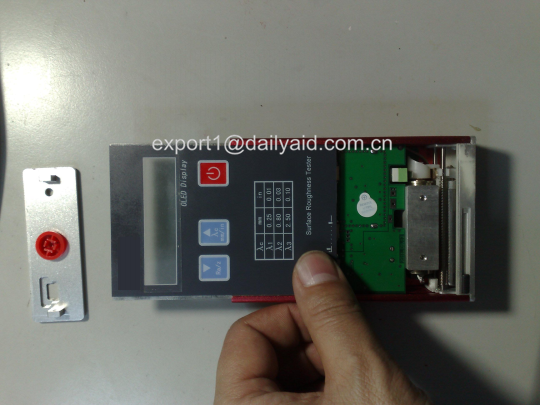
3. Push up the panel, remove the panel, pay attention to protect the LCD and windows to prevent scratching.
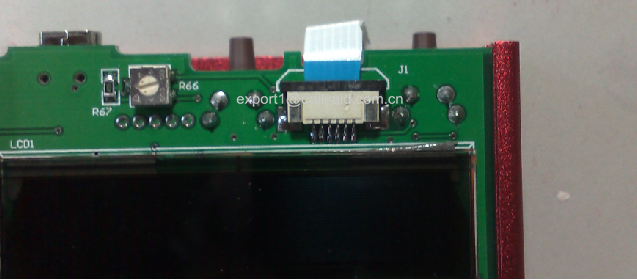
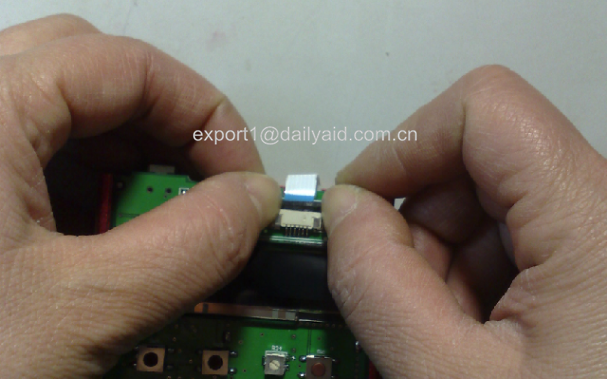
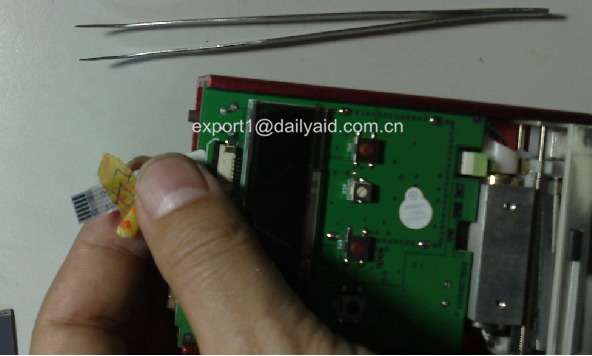
4. Remove the cable
Attention: push up with two hands at the same time, unlock the socket gently, pull cable slightly, don’t be too hard
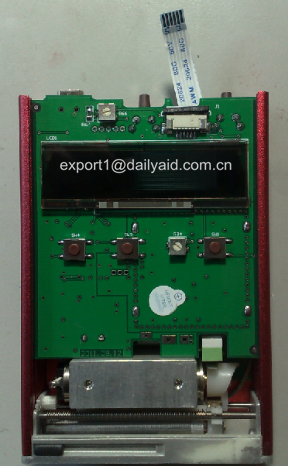
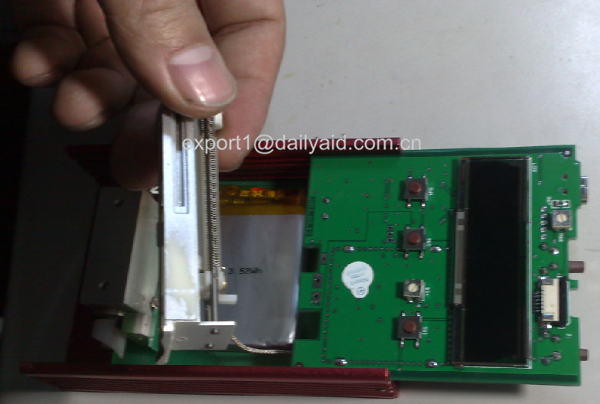
5. Pull down transducer part, shake the part slightly
6. Remove the main board, one hand hold the transducer part, another hand push the main board upward, main board and transducer should be removed at the same time. Main board should be protected, the screws to fix circuit board can’t be removed and loose, otherwise it is hard to repair.

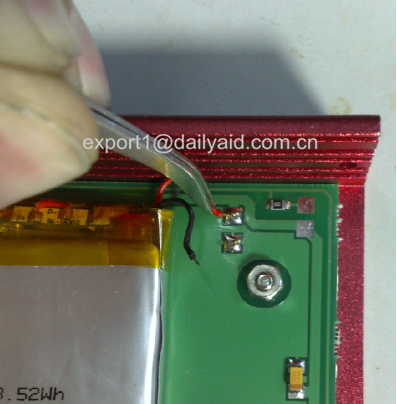
7. Stick the cables of battery panels to the back of machine with tape, prevent bad influence when operating. Attention: don’t pull the cables hard prevent loose and poor contact.
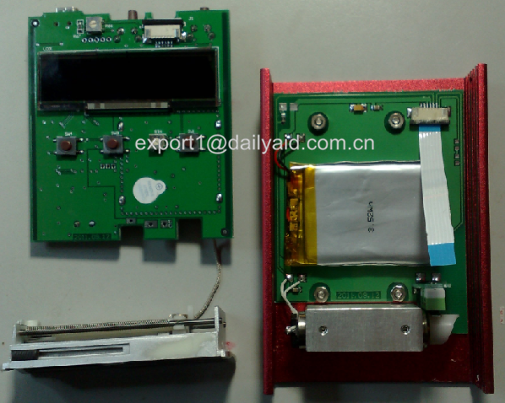
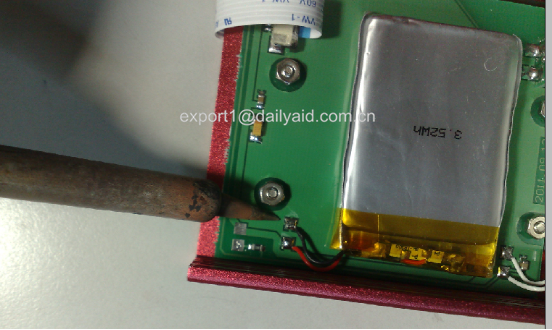
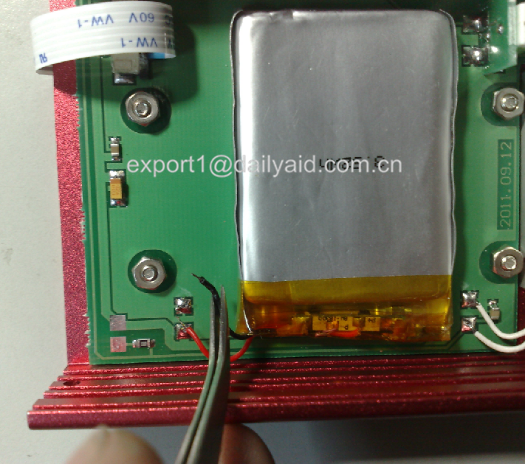
8. Remove the positive and negative of battery with the electric iron. Attention: Be careful, the positive and negative of battery mustn’t be short circuit. To prevent short circuit, wrap the wire with insulating tape.

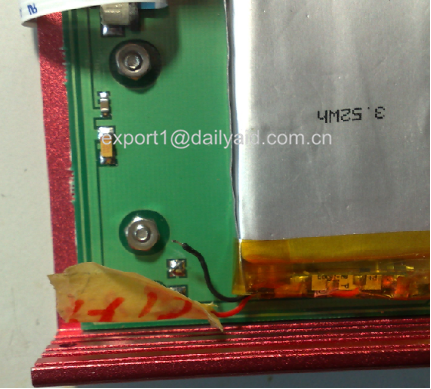
9. Remove the old battery. Battery is adhered with circuit board with double-side adhesive tape, not easy to remove, we can use blade or tweezers to pick it up. Attention: in the process to remove the battery, please keep your eyes away from battery to prevent harm.
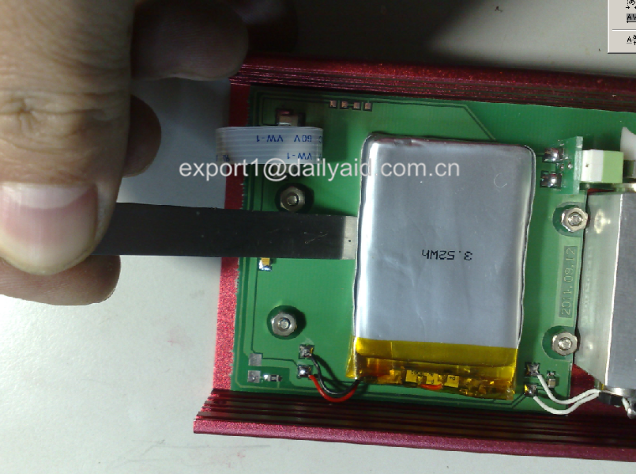
10. Install new battery. Install the new battery in the same location, lean to the left as much as possible, remember the positive and negative.
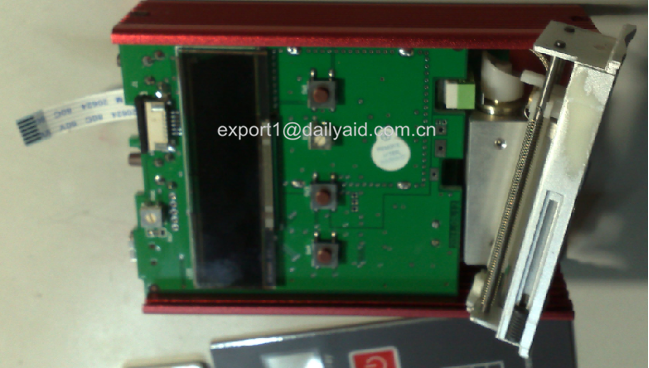
11. Install the main board and transducer. Find the groove for main board, push the main board down along the groove. The correct position is the bottom of main board connecting with motor.
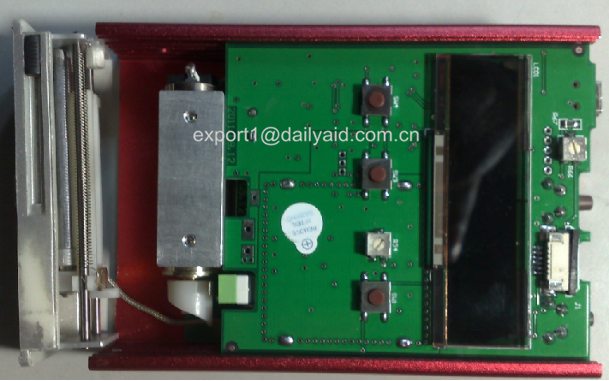
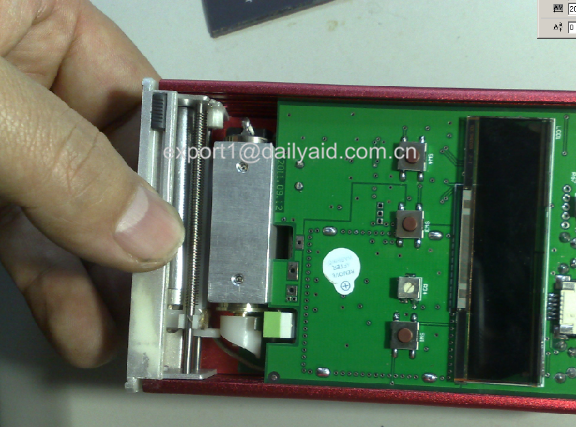
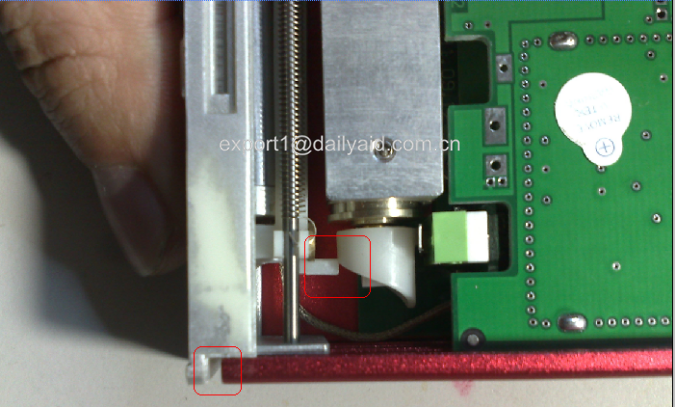
12. Install the transducer. Attention: there will be a white column attached the cam on the motor. If the installing process is not proper, the column will attach the cam, it will be like the picture below. Don’t push the column, otherwise the transducer will be damaged.
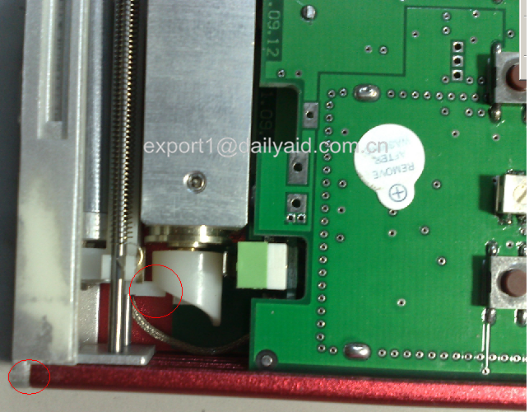
The correct method is sliding the transducer to the right slightly, install the transducer when hanging the column to the motor at the same time. If the process is proper, the picture will be like the below.

13. Mount the two screws of transducer.
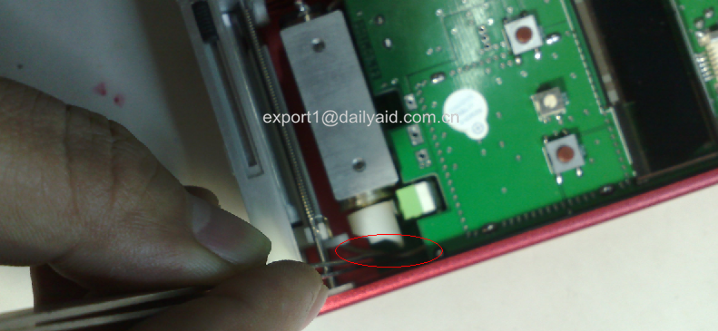
14. Push the transducer cable a little, make sure there is no resistance when transducer moves.
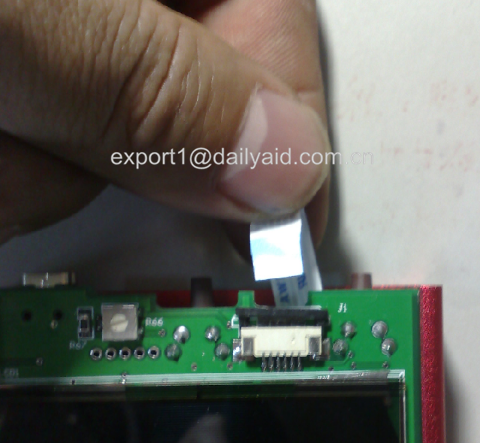
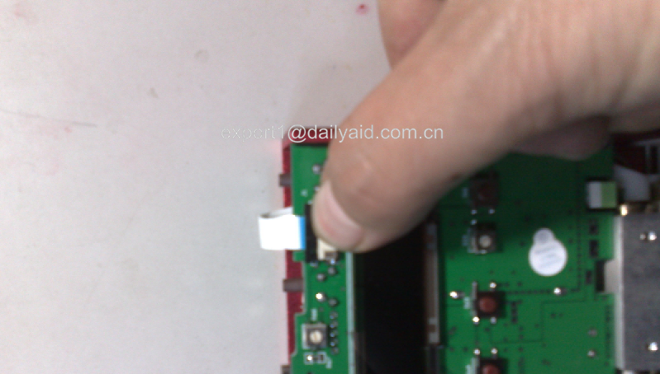
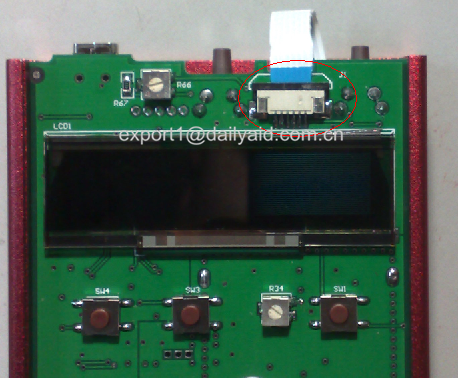
15. Mount the cables, push the cables into socket and lock it when the socket opens completely, make sure reliable connect.
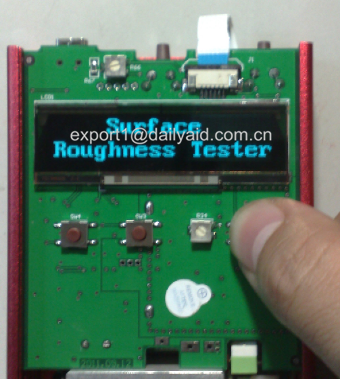
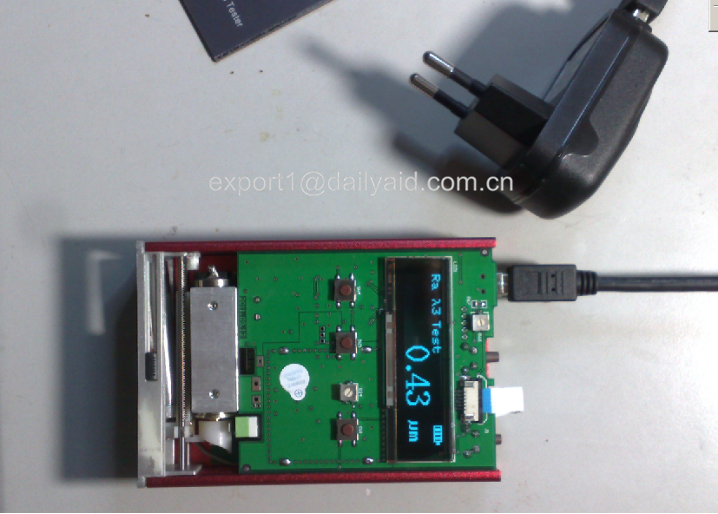
16. Press the power button to boot, test the block to check its precision, use the calibration function if needed.
17. Check the recharge function
18. Mount the main board.
19. Mount the start button
20. Install the upper cover, don’t push the cables.
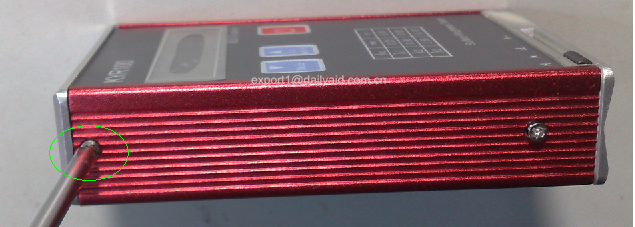
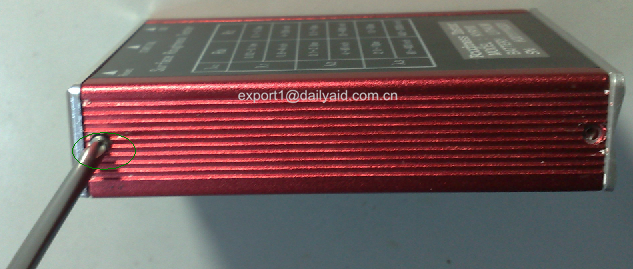
21. Mount and fix the screws. Attention the screws of two sides are not the same, the screws in the picture below is M2*6, and the picture below is M2*5
DONE!
- last text:How to adjust stylus?
- next text:How to choose a good Leeb Hardness Tester?
All Products
- Surface Roughness Tester (3)
- Coating Thickness Gauge (2)
- Ultrasonic Flaw Detector (7)
- Ultrasonic Thickness Gauge (4)
- Leeb Hardness Tester (6)
- Desktop Hardness Tester (7)
- Vibration Meter (3)
- Other Products (9)


-
Beijing Dailyaid Measuring & Control Ltd.
Address: Room 709 #3 building, Zijinshuma yuan, Zhongguancun, Haidian district, Beijing, China. 100190
Tel: +86-10-5979 6778 ext 207
Fax: +86-10-6266 2785
Email: export2@dailyaid.com.cn
Website: www.dailyaid.net